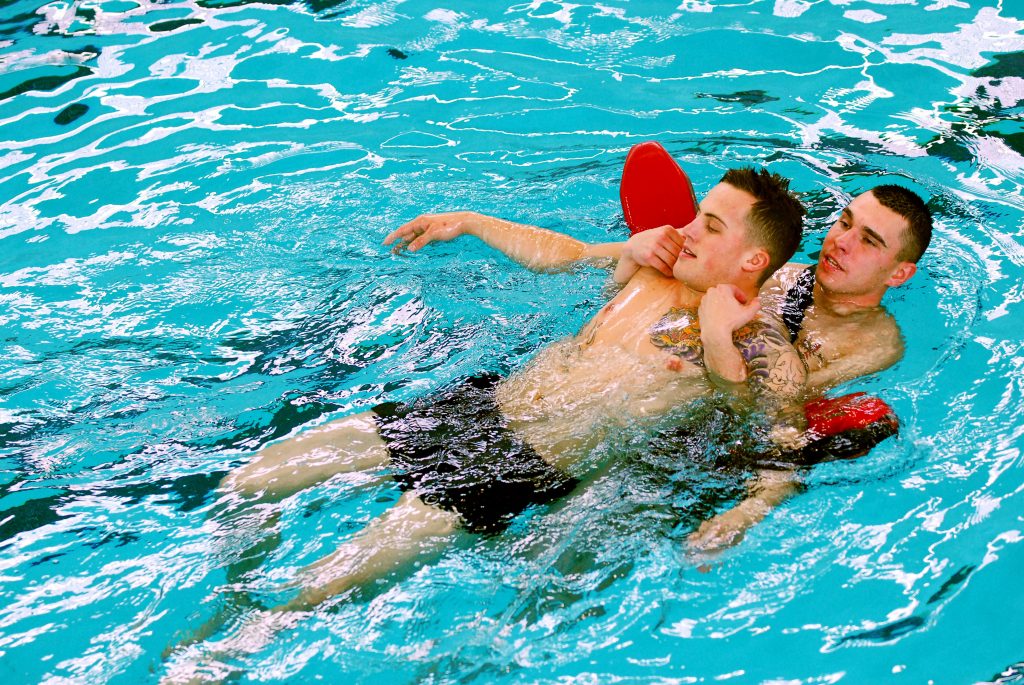
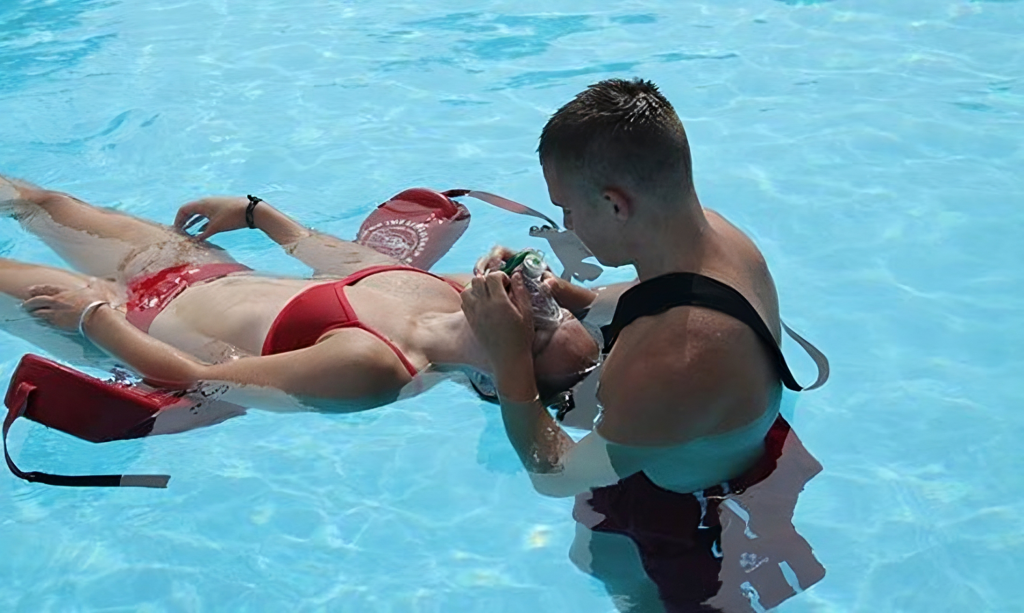
Physical Fitness for Lifeguards

Lifeguards are responsible for ensuring the safety of swimmers and patrons in the water, and physical fitness is an essential component of their job. A fit and healthy lifeguard will be better equipped to respond to emergencies and perform the physically demanding tasks required of the job.  Here are some examples of fitness training that can be beneficial for lifeguards:

  • Cardiovascular training: This can include activities such as running, swimming, cycling, or rowing to improve cardiovascular endurance and overall fitness.
  • Strength training: This can include exercises such as weightlifting, bodyweight exercises, and resistance training to improve overall strength and endurance.
  • Flexibility training: This can include exercises such as yoga, stretching, and Pilates to improve flexibility and prevent injuries.
  • Agility and balance training: This can include exercises such as plyometrics, balance exercises, and obstacle courses to improve agility and balance.
  • Rescue training: This can include training in swimming and rescue techniques, as well as training in the use of rescue equipment such as tubes, spinal boards, and AEDs.
  • First aid and CPR training: This is an essential component of a lifeguard’s job and must be kept up to date.

It’s important for lifeguards to maintain a consistent fitness training regimen, both during the off-season and during the swimming season. Regular fitness training can help lifeguards to perform their duties effectively and safely, and can also help to prevent injuries. 

It’s also important to note that a lifeguard’s fitness level should be appropriate for the specific position and facility where they work, and should be in compliance with the regulations and standards of the facility and the state/country.

Current pre-screen requirements for lifeguard certification may not meet physical fitness requirements to be a lifeguard. Based on current guidelines, it is suggested to evaluate lifeguard fitness levels every 10-12 weeks(1).  The fitness test should match or exceed the physical exertion a lifeguard will experience in an emergency at your facility.  Below are some basic criteria. We have also created a template that can be used to create your own assessment that can be found here:

  • Approach the victim swiftly and efficiently.
  • Descending to the deepest area of the location (not exceeding 20 feet).
  • Retrieving the victim (an adult submersible manikin or equivalent).
  • Returning the victim to safety.
  • Safely transferring the victim (with assistance from other staff if outlined in the specific venue’s emergency action plan) to a designated area accessible for emergency medical services.
  • Administering CPR for a duration of 9 minutes (based on the average US response time) or the documented response time of the venue, whichever is shorter.

Notes:

  • The sequence above should be done in a continuous uninterrupted sequence. 
  • If your facility does not have a manikin, replace the CPR with a 400-yard swim.  That should be comparable enough to 9 minutes of CPR.

References

1. Consensus of the United State Lifeguard Standards Coalition. United States Lifeguard Standards. United State Lifeguard Standards Coalition. [Online] January 2011. http://www.lifeguardstandards.org/.

Does Hands Only CPR Work for Drowning Victims

Hands-only CPR may not be as effective for drowning victims compared to traditional CPR, which includes both chest compressions and rescue breaths. When someone has drowned, there’s often a lack of oxygen in their system, which requires both oxygenation through rescue breaths and circulation through chest compressions.

Here’s why traditional CPR is typically recommended for drowning victims:

  1. Oxygenation: Drowning victims often have depleted oxygen levels in their bloodstream. Rescue breaths deliver oxygen directly to the lungs, helping to replenish oxygen levels and support vital functions.
  2. Clearing Airways: Drowning victims may have water in their airways, which can obstruct breathing. Rescue breaths help clear the airway and facilitate breathing, improving the effectiveness of CPR.
  3. Circulation: While chest compressions are crucial for maintaining blood circulation, they are more effective when combined with rescue breaths. Oxygenated blood circulated through compressions helps deliver oxygen to vital organs, including the brain.
  4. Special Considerations: Children who have drowned or experienced a near-drowning incident may particularly benefit from traditional CPR, as their smaller airways and faster metabolism require prompt oxygenation and circulation.

In summary, while hands-only CPR is effective for certain scenarios like sudden cardiac arrest in adults, traditional CPR, including both chest compressions and rescue breaths, is typically recommended for drowning victims to maximize the chances of survival and recovery.

In-Water Ventilations

Quickly providing care to a victim who is in respiratory or cardiac arrest is very important. Allowing too much time to pass before care is provided can make the difference if a victim survives respiratory and cardiac arrest.  As a result, we have included in a skill to provide ventilations in the water prior to removing a victim.  This is included based on guidelines from the 2011 United States Lifeguard Standards Coalition and advocated by many lifeguard programs.

With that stated, the 2011 USLSC clearly states the survival rate is increased in open water settings.  The studies cited advocating in-water ventilations were conducted in open-water settings where victims were minutes away from shore.  No research has been shown (or done that we can find) to show in-water ventilations improves outcomes for drowning victims in swimming pools.  If a facility is operating within the standard of care and has sufficient staff trained to properly remove a victim from the water, we cannot see the time spent providing in-water ventilations vs removing a victim and providing care to have a meaningful improved outcome.  This makes the skill unnecessary in a pool setting.  Care can certainly be provided more effectively on land-especially for CPR and airway management. 

A more updated review of in-water ventilations, as well as, other resuscitation interventions for drownings, have found the efficacy of in-water ventilations to be inconclusive.  In fact, the study most cited by advocates of the skill from Brazil “was assessed as providing very low certainty evidence.”

This skill is optional for the certified course, but is included to allow aquatics managers to use the skill for in-service training if they decide it is necessary.  We certainly understand the need for this skill in an open water environment.  However, without corroborating research, this may not be the case in a swimming pool or water park facility-assuming the facility is operating at a high level and has adequate staff trained on how to remove a victim from the water.

Advice for Treating Burns

Treating burns properly is essential to promote healing, reduce pain, and prevent infection. Here’s some of the best advice for treating burns:

  1. Cool the burn: Hold the burned area under cool (not cold) running water for at least 10 to 20 minutes, or until the pain subsides. Avoid using ice or very cold water, as this can further damage the skin.
  2. Remove tight clothing and jewelry: If clothing or jewelry is not stuck to the burn, remove it to prevent constriction and allow for proper cooling and healing.
  3. Protect the burn: Once the burn has been cooled, cover it with a sterile, non-adhesive dressing or clean cloth to protect it from friction and infection. Avoid using cotton balls or fluffy material, as these can stick to the wound.
  4. Avoid popping blisters: If blisters form, do not pop them. Blisters act as a natural barrier against infection. Popping them increases the risk of infection and delays healing.
  5. Use pain relief: Over-the-counter pain relievers like ibuprofen or acetaminophen can help reduce pain and inflammation associated with burns. Follow the recommended dosage instructions.
  6. Seek medical attention for severe burns: If the burn is severe (large, deep, or covering a sensitive area like the face, hands, feet, or genitals), or if it is accompanied by symptoms like fever, chills, or signs of infection, seek medical attention immediately.
  7. Do not use butter, oil, or toothpaste: Despite common misconceptions, these substances can actually trap heat and bacteria, worsening the burn and increasing the risk of infection.
  8. Stay hydrated: Drink plenty of water to help your body recover from the burn and maintain proper hydration levels.
  9. Follow up with a healthcare professional: If you have any concerns about the burn or if it’s not healing properly, consult a healthcare professional for further evaluation and treatment.

Remember, the severity of a burn can vary, so it’s important to assess each burn individually and seek appropriate medical care if necessary.

How to Create a First Aid Kit for your Facility

Creating a first aid kit for lifeguards involves assembling essential supplies to address common injuries and emergencies encountered in aquatic environments. It’s crucial to adhere to local regulations as they may specify specific requirements for lifeguard first aid kits. Here’s a general guideline:

  1. Waterproof Container: Choose a durable, waterproof container to hold all the first aid supplies. This ensures that the contents remain dry and accessible during emergencies.
  2. Personal Protective Equipment (PPE):
    • Disposable gloves
    • CPR mask with one-way valve
  3. Wound Care:
    • Sterile gauze pads of various sizes
    • Adhesive bandages (assorted sizes)
    • Sterile adhesive tape
    • Antiseptic wipes or solution for wound cleaning
    • Hydrogel or burn gel for minor burns
    • Sterile saline solution for irrigation
  4. Medications:
    • Aspirin or other pain relievers (check local regulations)
    • Antihistamines for allergic reactions
    • EpiPen (if permitted and necessary)
  5. Trauma Supplies:
    • Trauma shears
    • Triangular bandages for splinting or slings
    • Roller bandages for compression
    • Splinting materials (e.g., SAM splints)
    • Instant cold packs for sprains or strains
  6. Rescue Equipment:
    • Whistle for signaling
    • Lifeguard rescue tube or buoy
    • Backboard (if required by regulations)
    • AED (Automated External Defibrillator) if required and available
  7. Documentation:
    • First aid manual or guidebook
    • Incident report forms as per local regulations
    • Contact information for emergency services and medical facilities
  8. Water Safety Equipment:
    • Lifeguard fanny pack or belt pouch for easy access to essentials
    • Floatation devices (depending on the setting)
    • Reaching pole or rescue hook
  9. Sun Protection:
    • Sunscreen with a high SPF
    • Lip balm with SPF
  10. Hydration and Nutrition:
    • Bottled water or hydration packs
    • High-energy snacks (e.g., granola bars)

Ensure that all items are regularly checked and replenished, and that lifeguards are trained in first aid procedures. Additionally, consult with local authorities or regulatory bodies to ensure compliance with any specific regulations governing lifeguard first aid kits in your area.

When should Rescuers Switch Positions During CPR?

During CPR (Cardiopulmonary Resuscitation), it’s essential for rescuers to switch positions if they are performing the procedure for an extended period to ensure the effectiveness of the compressions and to prevent rescuer fatigue. Here are general guidelines for when and how often rescuers should switch positions:

  1. Time Interval for Switching: Rescuers should aim to switch positions every 2 minutes or after about 5 cycles of 30 compressions and 2 breaths, whichever comes first. This timing aligns with the recommended rate of compressions and allows for minimal interruption in chest compressions.
  2. Monitoring Rescuer Fatigue: It’s crucial to switch positions before the rescuer performing compressions becomes too fatigued to maintain effective compression depth and rate. Signs of fatigue can include slowing of compressions, decreased depth, or visible signs of physical strain.
  3. Quick Switch to Minimize Interruption: The switch between rescuers should be as quick and smooth as possible to minimize interruptions in chest compressions. Ideally, the switch should take less than 5 seconds to ensure continuous blood flow to the brain and other vital organs.
  4. Communication is Key: Before starting CPR, rescuers should agree on the signal or command for switching. Clear communication during the resuscitation effort is crucial to coordinate the switch and other aspects of care efficiently.
  5. Training and Practice: Regular CPR training and practice, including the switch maneuver, can help rescuers become more efficient and comfortable with the process, reducing the time needed to switch and ensuring the high quality of compressions throughout the resuscitation effort.

These guidelines are based on recommendations from organizations such as the American Heart Association (AHA) and are designed to maximize the effectiveness of CPR while ensuring the safety and endurance of the rescuers. It’s always important to stay updated with the latest CPR guidelines as they can evolve based on new research and consensus in the medical community.

Be sure to practice CPR during in-service training!